
Knee pain is something many hikers experience. Our knees, which work like a hinge, aren’t really made for hiking. When you walk uphill, your knees feel two to three times the weight of your body, and walking downhill puts even more pressure on them, according to Harvard Medical School.
In this article, we will discuss how to treat knee pain.
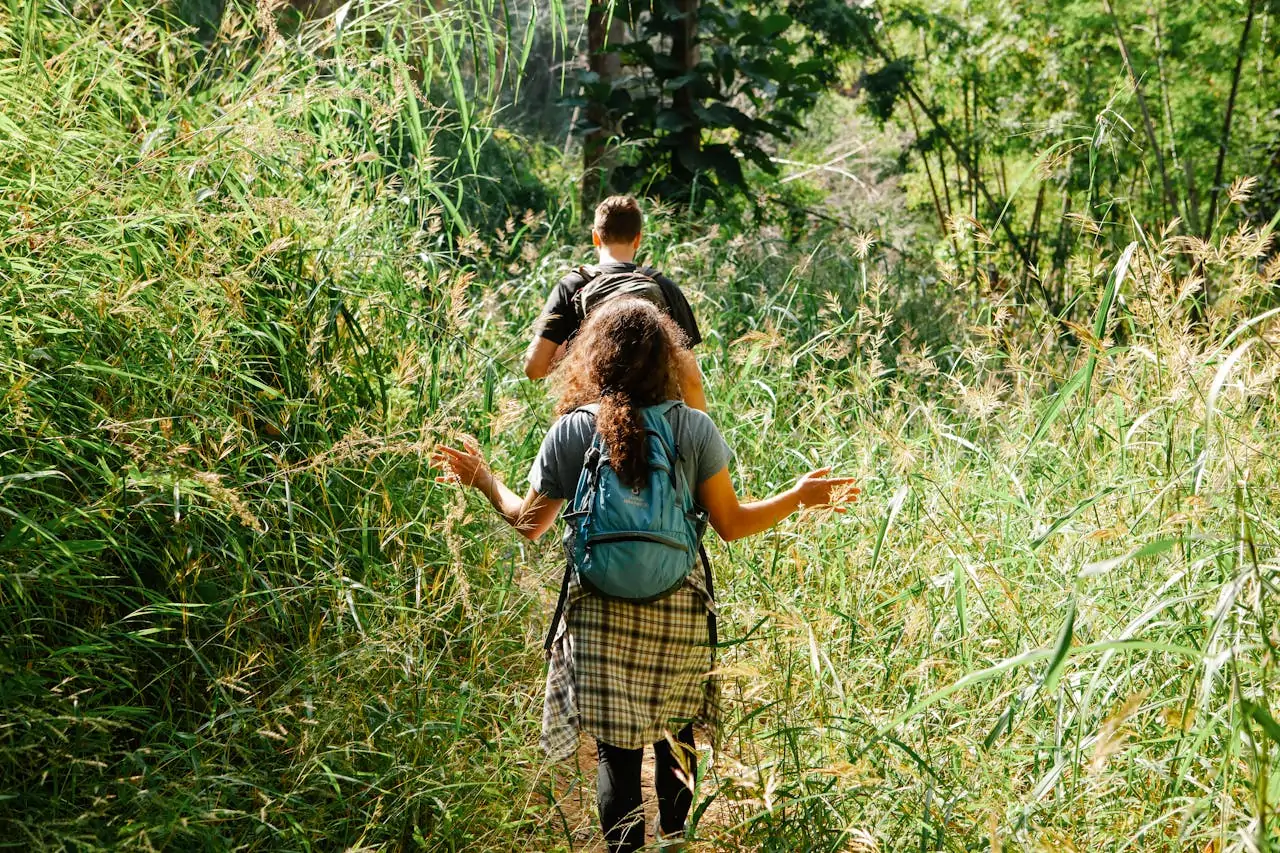
The choices you make while hiking can really affect how your knees feel. Carrying a heavy backpack adds more weight and pressure on your knees and joints. Wearing shoes that don’t fit right can give you blisters and make you walk differently, which can lead to injuries.
If you don’t use trekking poles, your knees have to take on more weight than they should because poles help spread the weight across your body. But don’t worry—feeling knee pain doesn’t mean you have to stop hiking. Just make smart choices to take care of your knees.
Prevent Knee Pain Before It Starts
If you take care of your knees early on, you can keep hiking for many years, says Belinda Brownell, a physical therapist from Colorado who’s been helping hikers for over 20 years. It’s important to pay attention to what your body is telling you, both on and off the trail. If your knees start feeling stiff or sore, don’t ignore it.
Instead, take action before you hit the trail by doing exercises that strengthen the muscles around your knees, like your quads, hamstrings, glutes, and calves. These muscles help protect your knees, and keeping them strong is much easier than dealing with a serious injury later on.
Here are some exercises you can do at home every day to keep your knees strong:
- Wall Sit: Stand with your back against a wall and bend your knees like you’re sitting in a chair. Hold this position for 30 seconds, then rest for 30 seconds. Try doing this four to five times. This exercise strengthens your quads, which support your knees.
- Banded Monster Walk: Put a resistance band around your ankles and take steps to the side while staying in a slight squat. Make sure you move the same distance in both directions to strengthen both sides of your body. The resistance band should make it challenging to walk sideways.
- Hip Raises: Lie on your back with your arms by your sides. Lift your hips toward the ceiling while squeezing your glutes. If this feels easy, add a weight or a resistance band above your knees. Doing three sets of 10 hip raises will make your glutes stronger and help keep your knees steady when you’re hiking.
Why Strength Training is Important for Women
Women are more likely to get injured than men, so strength training is especially important to help lower that risk. According to Samantha Smith, a sports medicine specialist at Yale Medicine, women naturally have less testosterone, a hormone that helps build muscle.
This means women have less muscle mass around their knees compared to men. Women’s estrogen levels also change throughout the month, which can affect their bone strength and how flexible their tendons and ligaments are. Additionally, women have wider hips than men, which changes how the bones in their legs line up.
This puts more pressure on their knees with every step. Strength training helps women overcome these challenges, making it easier to hike without pain.
What Different Types of Knee Pain Mean
Understanding knee pain is important to keep yourself safe while hiking. Here’s what different kinds of knee pain might mean:
1. A Persistent Ache Under the Kneecap:
If you feel a constant ache under your kneecap, it could mean your knee isn’t moving properly, or the cartilage is wearing down. This type of pain often gets worse when hiking downhill. To protect your knees, try zigzagging down the trail instead of going straight down, and don’t lock your knees. Simple fixes like shoe insoles or strengthening and stretching the muscles around your knee might help, but it’s a good idea to check with a doctor to find the best solution. If the pain starts during a hike, use a cold pack or snow, and take some ibuprofen to help.
2. Sharp, Shooting Pain Above or Below the Knee:
This kind of pain is likely tendinitis, which is when a tendon gets inflamed from overuse. It can happen if you suddenly increase how much you’re hiking, or if your hamstrings are tight and your quads are weak. If you feel this pain, ice the area and rest. If it doesn’t get better after a few days, see a doctor.
While on the trail, take an anti-inflammatory, dunk your knee in a cold stream during breaks, and try to lighten your load by asking your hiking partner to help carry some of your gear.
3. Pain Around the Entire Knee After a Fall:
If you fall and feel pain around your whole knee, you might have torn your anterior cruciate ligament (ACL), which is a key part of your knee’s stability. This injury is more common in sports like basketball, but it can happen from a fall that twists or overextends your knee while hiking.
If your knee buckles when you try to stand, it could be a sign of an ACL tear. Use trekking poles like crutches to help you walk out, keeping your knee slightly bent and putting weight on your toes. Don’t wrap the knee, as it could make the swelling worse. As soon as you can, head to the doctor.
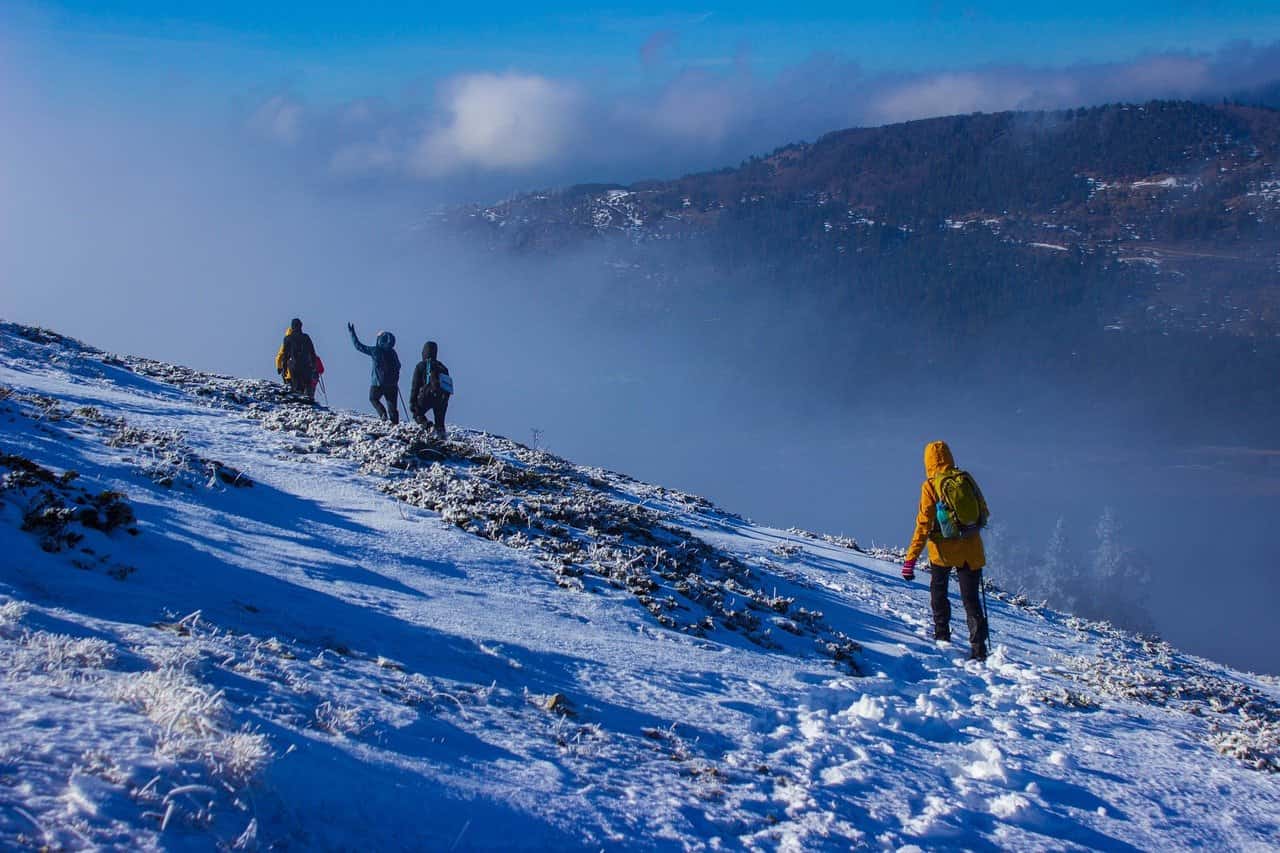
Why Your Knees Hurt More on Hills
Knee pain isn’t always a sign of injury—it could just be from sitting in a way that puts extra pressure on your joints. But if your knees already hurt, hiking on hills can make it worse. When you go up and down hills, your knees bend more than they do on flat ground, which makes your muscles work harder.
Downhill Pain
It might seem easier to hike downhill than uphill, but it’s still important to have good form. When you hike downhill, your body hits the ground harder, and your posture changes, which can lead to injury if you’re not careful. Avoid locking your knees or leaning back too much. Instead, keep your knees slightly bent and try to stand straight, even leaning forward a bit. Using trekking poles can help you maintain good form and reduce the pressure on your joints.
If you’re training for a hike with a lot of downhill sections, research shows that training your muscles for downhill hiking is a good idea. Even just five minutes of downhill practice can strengthen your muscles and lower your risk of injury more than walking on flat ground. But remember, don’t overdo it—a few minutes is enough to build strength without causing damage.
Uphill Pain
While hiking uphill doesn’t put as much pressure on your joints as hiking downhill, it still challenges them because you’re working against gravity, often with a heavy backpack. Proper form is key to preventing injury. It’s natural to lean toward the hill as you climb, but make sure you’re not bending too much from the hips.
Leaning too far forward or backward can throw off your balance and lead to injury. Instead, lean slightly forward from your ankles. Using the correct form helps engage the right muscles around your knees, the ones you’ve strengthened during training, so you don’t strain weaker muscles.
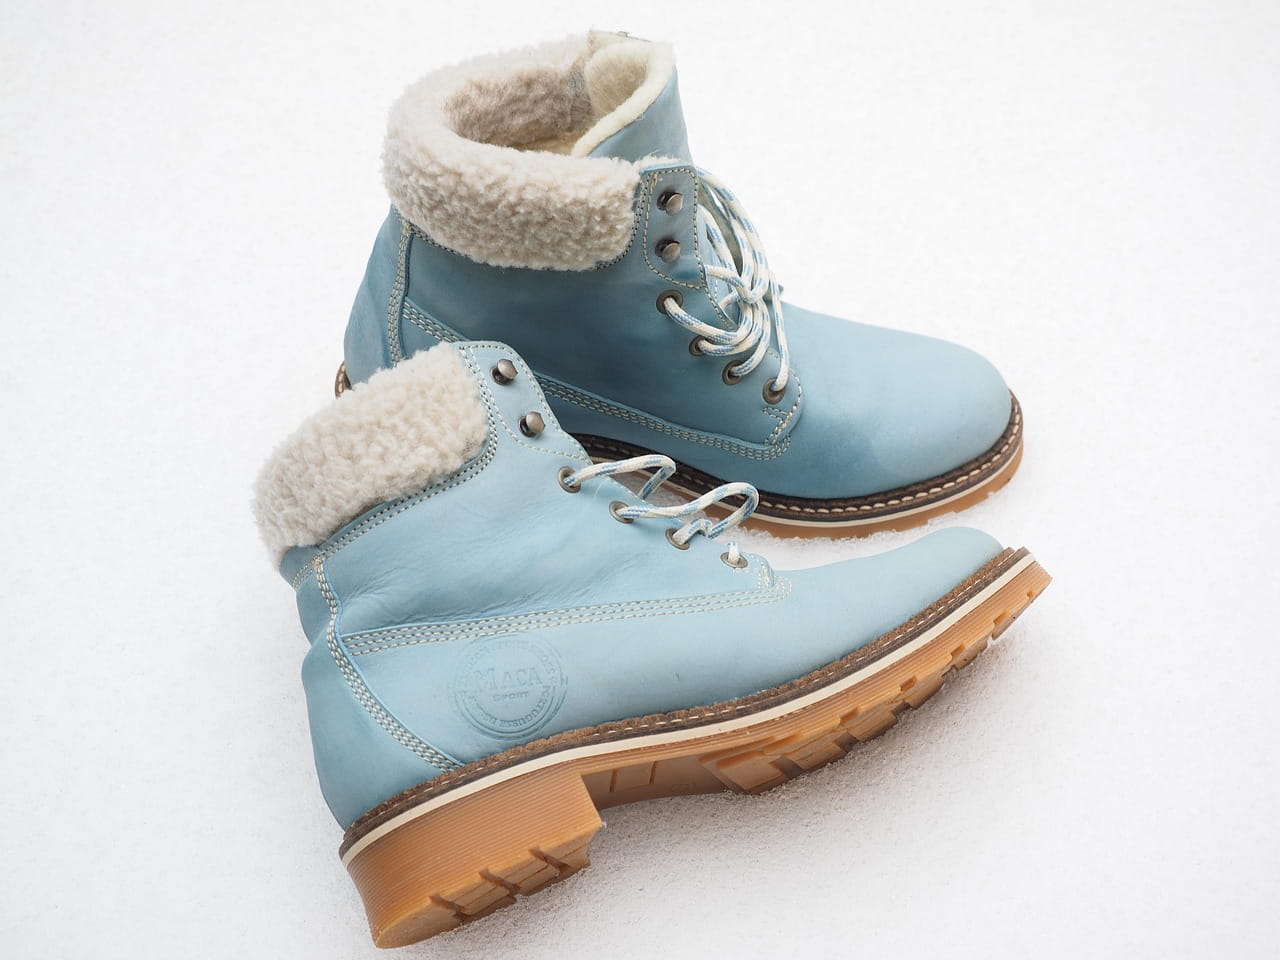
How to Choose Hiking Footwear to Avoid Knee Pain
When picking hiking shoes, it’s crucial to find ones that fit well, both on and off the trail. Sometimes the bright, colorful shoes that catch your eye aren’t the most comfortable or supportive for your feet. Don’t choose shoes just because they look cool; choose them because they feel right.
Stores like REI can help you find the perfect fit for your new hiking boots. Remember to bring your hiking socks when you try on boots so you get the most accurate fit.
Understanding Boot Construction
When buying new hiking boots, the two most important things to consider are support and fit. Your boots should have enough cushioning to absorb the impact when you step, which helps reduce stress on your knees. If the tread on the bottom of your boots (the part that grips the ground) is worn down, your boots might not be giving you enough support. Good traction is important because it helps prevent falls that could hurt your knees.
The best boot for you is the one that fits properly. Boots that don’t fit well can cause joint or ligament pain, so it’s important to make sure your boots support your entire foot. Your toes shouldn’t feel crowded or too loose in the toe area. Also, pay attention to the arch of the boot. Every time you step, your boot should bend at the ball of your foot, so the arch of your foot should match the arch in your boot. Anything that changes how you walk or your natural hiking form could lead to injury.
Lacing Up Correctly
Your hiking boots will feel more comfortable if you take the time to break them in before hitting the trail. If you start feeling pain or discomfort while breaking them in, you can adjust how you lace up your boots to improve the fit. This is important for preventing injuries because if your feet are uncomfortable, you might change the way you walk, which can cause pain or injury elsewhere.
Different lacing techniques can also help prevent issues like black toenails, blisters, and other common hiking problems. Some popular lacing methods include the surgeon’s knot, window lacing (also called box lacing), and toe-relief lacing. Each method serves a different purpose, so it’s good to know which one works best for your needs.
Here’s a quick guide to some useful lacing techniques that can make your hikes more comfortable:
- Surgeon’s Knot: This technique helps prevent your heels from slipping inside your boots, which can reduce the chance of blisters.
- Window Lacing: If you feel pressure on the top of your foot, window lacing can relieve that discomfort by giving your foot more room.
- Toe-Relief Lacing: This is a last-resort method to relieve toe pain while hiking, helping you make it back to the trailhead. However, if you experience toe pain every time you hike, it’s a sign that you need new boots—laces can’t fix that problem.
Protecting Your Joints with Insoles
Over time, the cushion in your shoes, known as the midsole, can become flattened from use. When this happens, your shoes won’t absorb as much impact, which means more pressure on your joints with each step. Even if the tread on your shoes looks fine, a packed-out midsole is a sign that it’s time to start looking for a new pair of shoes.
Insoles can help keep your feet in the correct position for standing, walking, and hiking. According to Mercy Health, you should consider getting insoles if you’re on your feet for more than five hours at a time or if you have flat feet or high arches.
The insoles that come with your boots aren’t made to fit everyone perfectly, and your feet have a unique shape that needs proper support to avoid joint problems, plantar fasciitis, and other lower-body injuries.