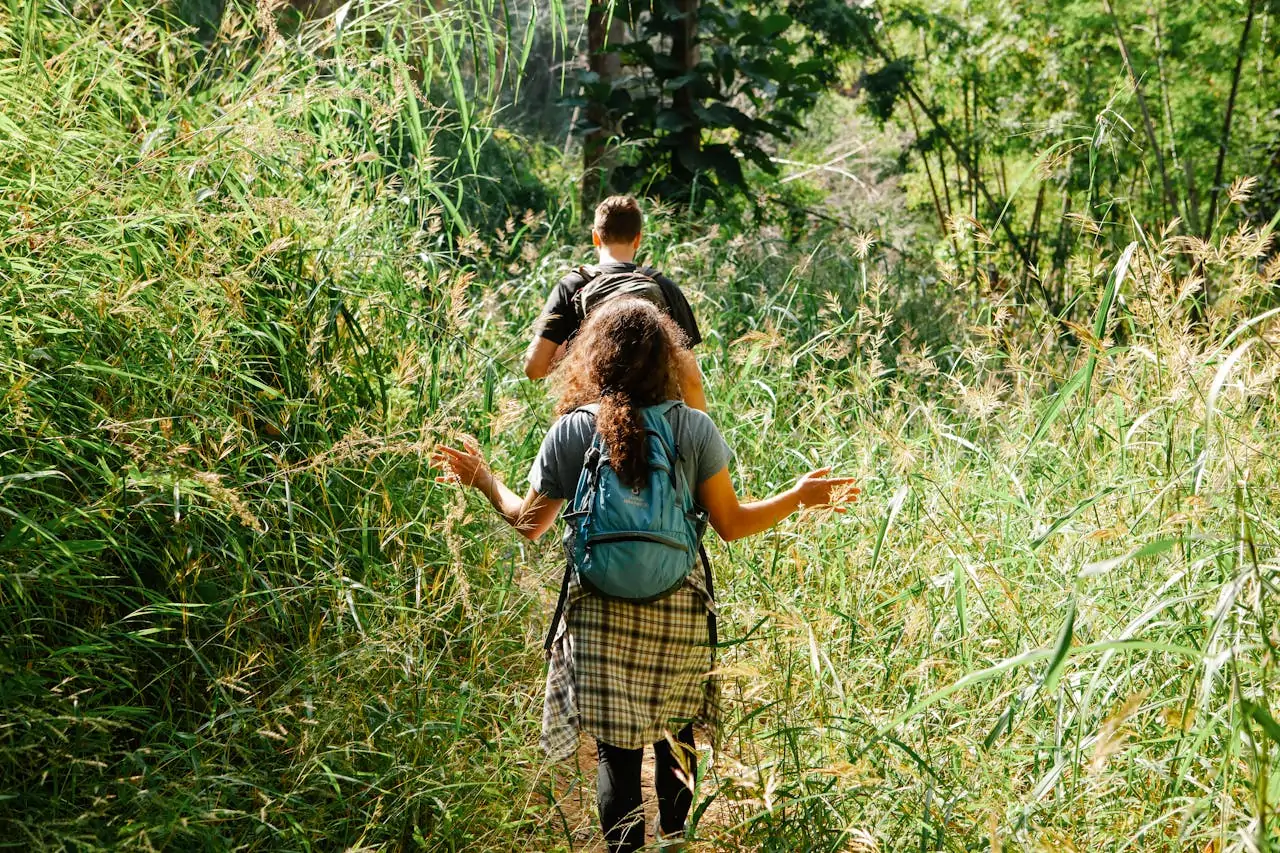
We’ve all had a hike ruined by painful blisters. When I first started hiking, my boots didn’t fit well, especially on the heel, and I’d always come back with really sore blisters on my feet. It even made me wonder if I liked hiking at all.
When I was getting ready for a long hike on the Trail, I knew I had to figure out how to stop those blisters from forming. Otherwise, I wouldn’t make it through the 12 days of hiking. I also needed to ensure I had the right supplies in case I got blisters, so they wouldn’t get worse.
The most important thing to prevent blisters is to have good hiking boots that fit just right—not too big and not too small. But you can also do some other things to keep blisters from popping up on the trail.
In this post, I’ll share the tips I’ve learned about how to prevent and treat blisters from happening and what to do if you get one while hiking.
What Causes Blisters?
Pressure, heat, and moisture are the main reasons blisters form on your feet while hiking. When these things happen, layers of your skin can rub against each other and fill with fluid—that’s how a blister forms.
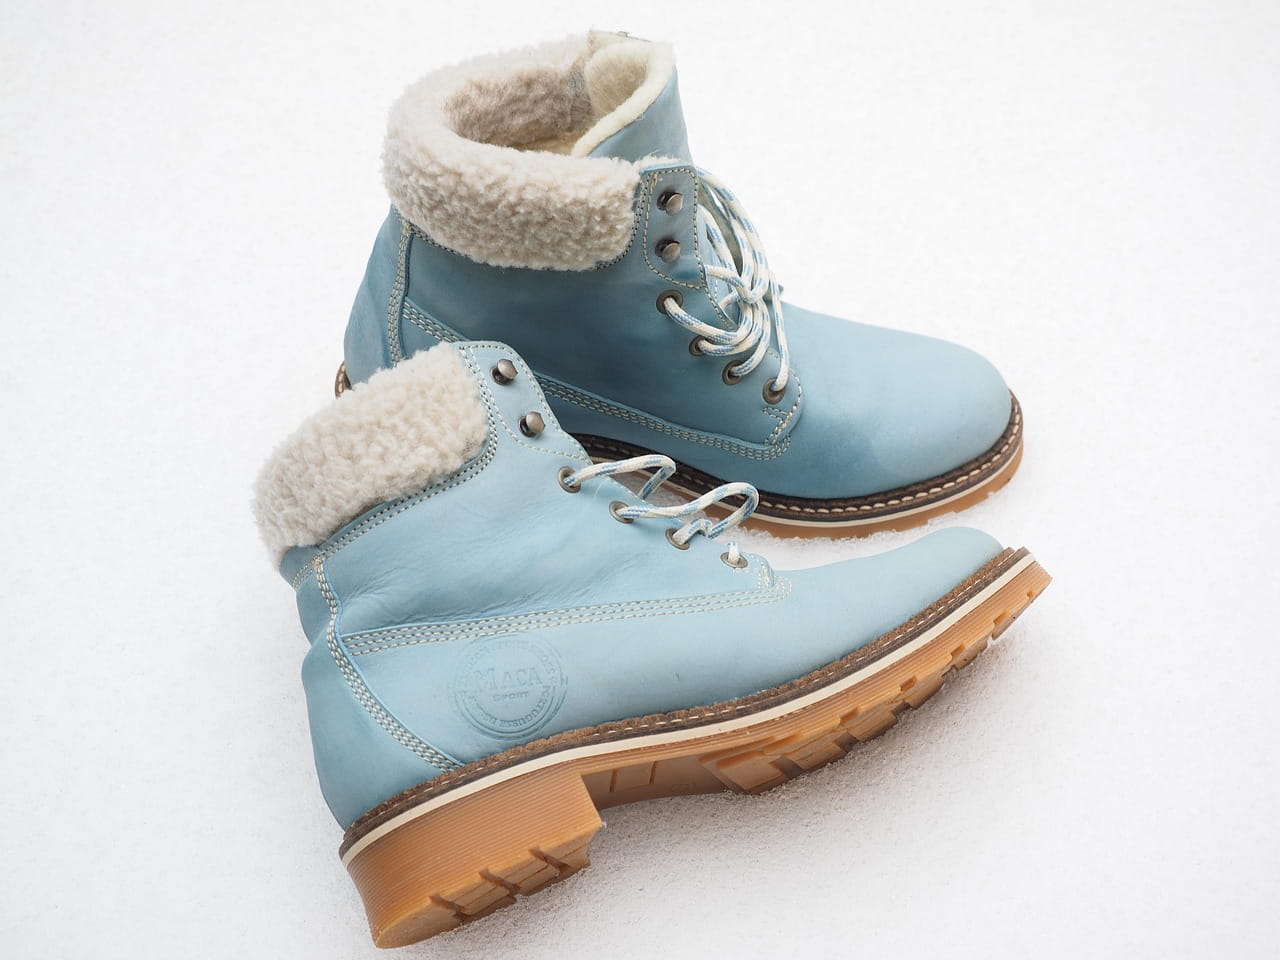
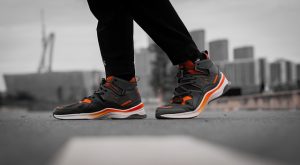
Footwear is really important—Trail Runners vs. Boots
We usually wear trail runners for hiking and backpacking. Trail runners are more comfortable, lighter, let your feet breathe, and dry faster than boots. This makes them great for helping to prevent blisters. But sometimes, wearing boots is the better choice, depending on the situation.
How to Prevent Blisters
Proper Footwear Fit
Making sure your shoes fit well is one of the most important things to avoid blisters. Shoes or boots that are too loose can cause your feet to slide around, which leads to rubbing and can create blisters.
Shoes that are too tight can press on your feet and cause sore spots. It’s good to have a little extra space for your toes, but you don’t want your feet slipping around either. A good fit is key! If your feet are between sizes or need extra support, a good pair of insoles can help.
Feet Grow on Long Trails
When you’re hiking long distances, your feet might get wider and swell a bit from all the walking. That’s why it’s a good idea not to buy all your shoes at once if you’re planning a big hike. As you keep hiking, you might need a bigger size by the end of your journey!
Break in New Footwear (Especially Boots)
If you have new shoes or boots, make sure to wear them around before your trip. New shoes can be stiff, and you’ll want to figure out any spots that might rub or cause pressure while you’re still at home.
As you wear them, your shoes will start to mold to your feet, making them much more comfortable. But remember, old boots need to have good treads and still provide support—no shoe lasts forever.
Keep Feet Clean
Keeping your feet clean is important to avoid chafing from dirt and to prevent blisters from getting infected. Try to rinse your feet in cool water whenever you can and clean them at the end of the day.
After long hikes, especially in wet conditions, it’s important to keep your feet dry at night so they can recover.
Change Your Socks
It’s smart to carry at least two pairs of hiking socks so you can swap them out and clean and dry the other pair. You can use a safety pin to clip your socks to your backpack to dry while you walk.
We also like to bring a warm pair of socks just to wear at night in our sleeping bags. Keeping your feet in clean socks helps keep them healthy, comfy, and blister-free.
Good Socks
Quality socks are super important for keeping your feet dry and cool while hiking. Wool and synthetic fibers are best because they pull sweat away from your skin and dry quickly after getting wet. Avoid cotton since it can cause blisters. Good hiking socks should fit snugly without wrinkles to avoid friction.
Wearing thin-liner socks under your regular socks can help prevent blisters. Some hikers also like toe socks, which can stop blisters between your toes. You can check out our list of the Best Hiking Socks for more info.
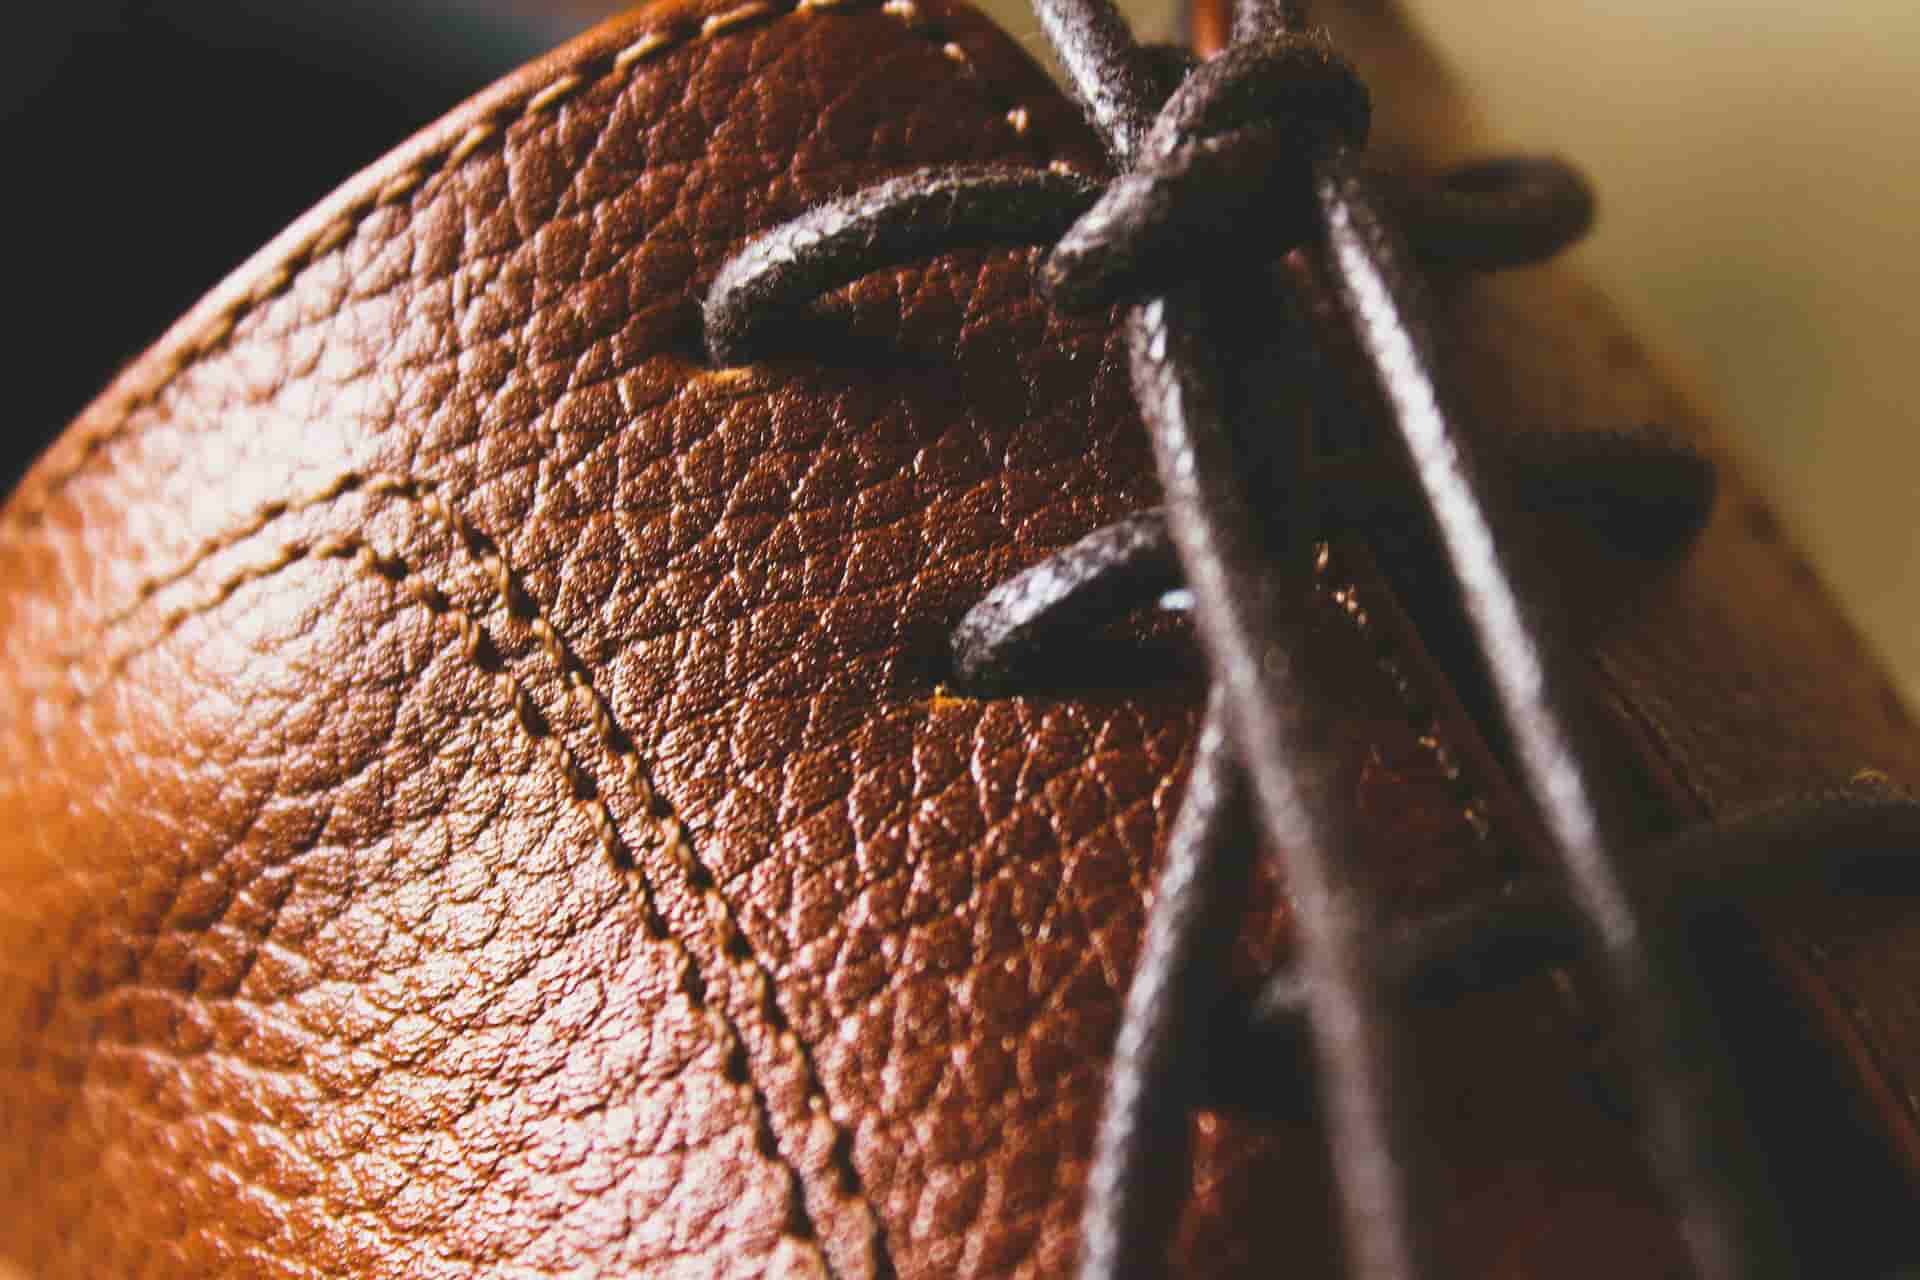
Adjust Your Laces
Taking a moment to adjust your laces for different terrains is worth it to keep your feet in good shape. Usually, we keep our laces loose to give our feet room to swell and stay comfy. But when hiking downhill for a long time, we tighten the laces around our ankles to keep our toes from bumping the front of our shoes.
Get Some Air Time
Taking off your shoes and socks to let your feet breathe during breaks can really help prevent blisters. It might take a few extra minutes, but it’s worth it to let your skin air out and your socks dry a bit. If we’re taking a break for 15 minutes or longer, we always take our shoes off.
Propping up your feet with your backpack can also help reduce swelling and speed up recovery. This is also a great time to shake out any dirt that got into your shoes and check your feet for any hot spots.
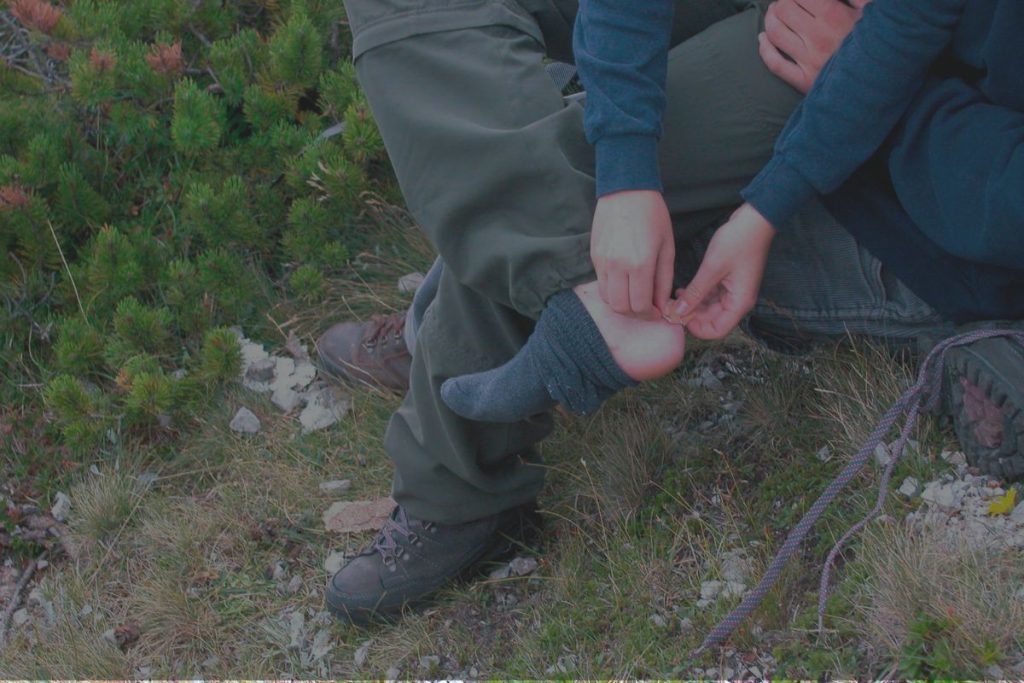
How to Treat Hot Spots
STOP
If your feet start hurting while you’re hiking, stop right away, find a spot to sit down, and take off your shoes to see what’s going on. It might seem like a hassle to stop, but this simple step will save you a lot of pain and trouble later on.
TAPE
If you feel a sore spot but no blister has formed yet, clean and dry the area, then put a thin layer of duct tape over it. This will help reduce rubbing. Make sure the tape is stuck on smoothly so it doesn’t cause more problems.
LUBE
If your skin is red, raw, or a blister is starting to form, put some antibiotic ointment on it. Then cover the spot with a blister bandage, BandAid, or Moleskin before adding tape.
LEAVE
If the sore spot isn’t getting worse, try to leave the tape in place until you get home. When you do take it off, be very careful so you don’t hurt your skin.
How to Prevent and Treat Blisters
Sometimes, even if you’re careful, you might still get a blister while hiking. But with the right first aid supplies and knowing how to use them, you can take care of it and keep hiking without too much pain. Here’s what you can do to help your feet feel better:
- Clean your hands and the area around the blister with soap and water or an alcohol/antiseptic wipe.
- Sterilize a safety pin, needle, or small knife by wiping it with alcohol or boiling it in water. Tip: Try to keep the top of the blister (called the ‘roof’) in place to protect the sensitive skin underneath and prevent infection.
- Pierce the blister near the bottom, and gently move the tool side to side to make a small hole. (A tiny hole can close up too quickly.)
- Drain the fluid from the blister by gently pressing the blister to push the fluid out. Tip: If you have a needle with an eye (the hole where the thread goes), you can thread it with sterilized floss or thread after piercing the blister from top to bottom. This creates a small wick that helps keep draining the blister as you keep hiking. We keep a small spool of fishing line and a bigeye needle in our blister kit for this and for emergency repairs.
- Cover the blister with antibiotic ointment to keep it from getting infected.
- Pad around (not directly on top of) the blister with a piece of Moleskin or Molefoam cut into a donut shape. The hole in the center should be bigger than the blister.
- BANDAGE the blister with gauze, a BandAid, or Moleskin.
TAPE over the blister and the surrounding area with a larger piece of duct tape or KT tape. The goal is to protect the blister and keep it from rubbing inside your shoe, so try not to stick the tape or bandage directly on the blister.
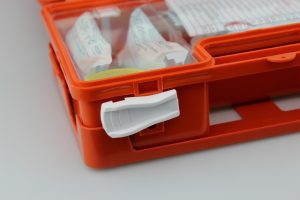
Blister First Aid Kit
Make sure you’re ready to prevent and treat blisters by packing the right supplies in your first aid kit, or by making a small “blister kit” that you can easily reach in your backpack. Every kit should include:
- Duct tape (We like to wrap it around an empty pill bottle. The bottle can also hold a needle, pins, and thread.)
- Moleskin and/or Molefoam
- Lightweight multitool with scissors, tweezers, and a small knife
- Soap, alcohol, or antiseptic wipes
- Safety pin, sewing needle, or scalpel blade
- Braided fishing line or dental floss on a tiny spool (optional)
- BandAids (optional)
- Gauze (optional)
- Blister bandages (optional)
- KT tape (optional) – KT tape, or kinesiology tape, is an elastic cotton strip with strong adhesive.
It’s great for treating sports injuries and works really well for caring for blisters. It can also help support other common injuries.
For more details, check out our FirstAid Kit Checklist for Hiking blog post.
Foot Care Tips
Taking good care of your feet before, during, and after backpacking trips is a smart habit. It helps prevent blisters and makes your hike more fun. There’s nothing wrong with having a good self-care routine on and off the trail.
AT HOME OR IN TRAIL TOWNS:
- Trim toenails short and keep them smooth by filing down any sharp edges. A small multitool with scissors, a file, tweezers, and a knife can help you take care of your feet on the go.
- Clean your feet regularly and thoroughly. Don’t forget to get the dirt out from under your toenails.
- Moisturize your skin with lotion or coconut oil to prevent your feet from cracking or getting too rough. This helps reduce friction and keeps your socks from wearing out too quickly.
- Rest and elevate your feet whenever you have downtime to reduce swelling. If your blisters are really bad, you might need to take a day or more off to let them heal properly.
- Soak your sore feet in warm water to relax your muscles and tendons. If you add Epsom salt, it can help you recover faster. If you’re on a long trip, you can use a bathtub, a bear canister, or whatever container you can find.
- Massage your feet for a few minutes every day to keep them strong and flexible. Foot massages also help with circulation, promote restful sleep, and prevent ankle injuries.
- Treat athlete’s foot or other skin problems by soaking your feet in warm water with a little apple cider vinegar mixed in.
- Smooth thick calluses with a pumice stone or foot rasp to keep blisters from forming underneath them. It’s good for hiker feet to be a bit tough, but the skin should be healthy, flexible, and alive.