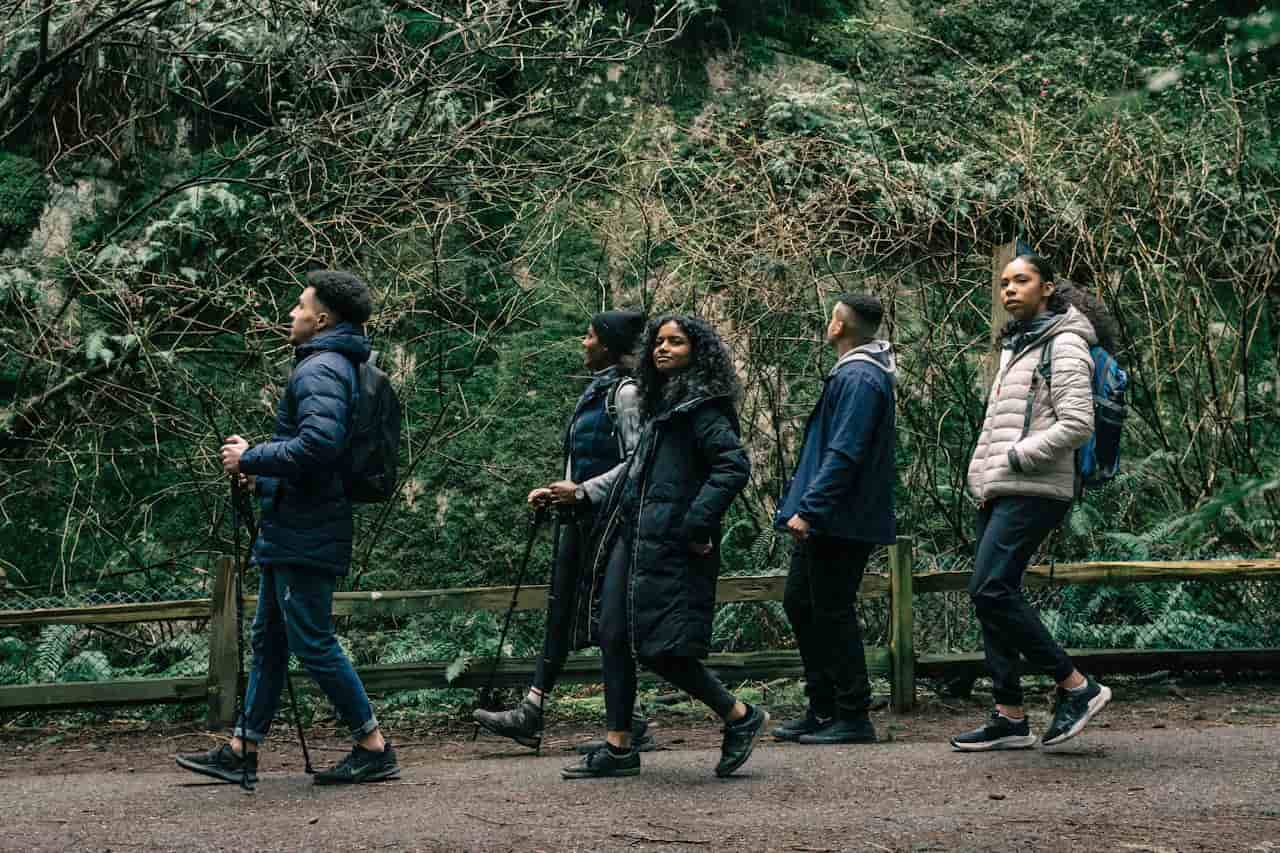
Staying hydrated is crucial when you’re out on the trail, and water bladders are one of the most convenient ways to carry and access water during a hike.
If you’re a first-time buyer, understanding what to look for in a water bladder and how to use it properly can make all the difference in your hiking experience.
In this guide, we’ll cover everything you need to know about choosing, maintaining, and using a water bladder for hiking.
Whether you’re gearing up for a short day hike or a multi-day trek, this article will help you stay hydrated and comfortable on the trail.
What Is a Water Bladder for Hiking?
A water bladder, also known as a hydration reservoir, is a flexible, lightweight pouch designed to hold water and fit into a backpack.
It typically comes with a long tube and bite valve, allowing you to sip water hands-free without stopping or removing your pack.
Why Choose a Water Bladder for Hiking?
A water bladder offers several advantages for hikers, making it a popular choice for outdoor enthusiasts.
One of the biggest benefits is hands-free hydration, allowing you to sip water through a tube without needing to stop or fumble with bottles, keeping you focused on the trail.
Additionally, water bladders are designed to fit snugly in hydration-compatible backpacks, promoting even weight distribution and enhancing comfort during long hikes.
Their compact design also frees up valuable space in your pack, leaving more room for other essentials like snacks, gear, or extra clothing.
These features make water bladders an efficient and convenient hydration solution for your hiking adventures.
Water bladders have become a staple for hikers, runners, and cyclists due to their convenience and efficiency. But to get the most out of your water bladder, it’s essential to choose the right one and maintain it properly.
How to Choose the Best Water Bladder for Hiking
Selecting the right water bladder depends on several factors, including capacity, material, and ease of use. Here are the key points to consider:
1. Capacity
Water bladders come in a range of sizes, typically from 1 liter to 3 liters, allowing hikers to select the option that best suits their needs. For short hikes or minimalist setups, a 1-liter bladder is a lightweight and convenient choice.
A 2-liter bladder offers a versatile solution, providing enough water for most day hikes without adding excessive weight.
For longer treks or hiking in hot climates where hydration is critical, a 3-liter bladder is ideal, ensuring you have ample water to stay refreshed.
Choosing the right size depends on the hike’s duration, your personal hydration needs, and the trail conditions.
Pro Tip: If you’re unsure, opt for a 3-liter bladder. You don’t have to fill it completely, but it’s nice to have the extra capacity when needed.
2. Material and Durability
When selecting a water bladder for hiking, certain features can enhance safety and functionality. Opt for BPA-free materials to avoid exposure to harmful chemicals and ensure safe hydration.
Durability is also crucial, so choose a model with a puncture-resistant design, especially if you’re tackling rugged trails.
For hikes in colder conditions, consider a bladder with insulated tubing to prevent water from freezing, ensuring reliable hydration even in low temperatures.
These thoughtful features can make your hiking experience more enjoyable and hassle-free.
3. Tube and Bite Valve Design
When choosing a water bladder, pay attention to the tube length to ensure it’s long enough to reach comfortably from your backpack to your mouth without straining. A well-designed tube makes hydration easy and hassle-free while on the move.
Another important feature is the bite valve—opt for one with an on/off switch to prevent leaks and spills, keeping your gear dry and your water supply secure. These small but crucial details can significantly enhance your overall hiking
4. Ease of Filling and Cleaning
Wide-mouth openings make it easier to fill your bladder and clean it afterward. Some models also feature quick-disconnect tubing for added convenience.
5. Backpack Compatibility
Before purchasing, check if your hiking backpack has a dedicated hydration sleeve and tube port. Most modern packs are designed to accommodate standard water bladders.
How to Use and Maintain Your Water Bladder for Hiking
Proper use and maintenance are key to extending the life of your water bladder and ensuring a hassle-free experience on the trail. Here’s a step-by-step guide:
1. How Much Water to Fill the Bladder
The amount of water you need for a hike depends on its length, intensity, and the environmental conditions.
For short hikes lasting 1-2 hours, carrying 1-2 liters of water is usually sufficient. Day hikes that span 4-6 hours typically require 2-3 liters to keep you hydrated.
On longer treks or in hot weather, it’s best to fill your water bladder to its maximum capacity to ensure you have enough to stay hydrated throughout the journey. Always plan your water supply carefully to match the demands of your hike.
Note: It’s better to carry more water than you think you’ll need, especially in hot or remote areas.
2. How Long It Takes Water to Reach the Bladder
Hydration bladders are designed for convenience, providing immediate access to water through the tube without having to stop and unpack.
When setting up your bladder, ensure the tube is securely attached to avoid any leaks or disconnections while hiking.
Before hitting the trail, test the flow to make sure it works properly, ensuring there are no blockages or malfunctions that could leave you without hydration during your hike.
Taking these simple steps can help you stay prepared and hydrated throughout your adventure.
3. How to Clean a Water Bladder for Hiking
Cleaning your water bladder after every use is essential to prevent mold, bacteria, and unpleasant odors.
Start by emptying the bladder and rinsing it thoroughly with warm water. Next, use a reservoir cleaning brush or household items like baking soda or vinegar to scrub the inside, ensuring you reach all areas that may harbor residue.
To disinfect, mix water with a few drops of unscented dish soap and pour it into the bladder. Swish it around, then rinse well to remove any soap residue.
Regular cleaning will keep your hydration system in top condition and safe for your next adventure.
4. How to Dry Your Water Bladder
Properly drying your water bladder after each use is crucial to prevent mold and unpleasant odors.
To do so, hang the bladder upside down with the cap open, allowing any remaining water to drain out. Use a drying rack or insert a clean kitchen towel inside the bladder to keep it propped open, promoting airflow for thorough drying.
Don’t forget to ensure that the tube and bite valve are fully dry as well, as moisture can accumulate in these areas.
Taking the time to properly dry your bladder will help maintain its longevity and keep your hydration system in good condition.
Pro Tip: Storing your bladder in the freezer between uses can help prevent bacterial growth.
Expert Tips for First-Time Buyers
To ensure your water bladder performs well on the trail, there are a few helpful tips to follow. First, test it before your first hike by filling it at home and checking for any leaks.
Practice drinking from the tube to become comfortable with the process. It’s also a good idea to pack spare parts, such as an extra bite valve or tubing, in case of any damage while on the trail.
For storage, keep your bladder dry and in a cool place when not in use, and avoid folding it tightly, as this can cause creases that may lead to leaks.
Lastly, stick to water in your bladder to prevent sticky residue and make cleaning easier, as flavored drinks can leave behind tough-to-clean buildups.
Following these tips will help you maintain your bladder’s function and extend its lifespan.
FAQs About Water Bladders for Hiking
Q: How much water should I drink during a hike?
- Aim to drink about half a liter per hour of moderate activity. Adjust based on heat, elevation, and exertion.
Q: Can I put flavored drinks in my water bladder?
- While possible, it’s not recommended as sugary drinks can leave residue and encourage mold growth.
Q: Are water bladders allowed on airplanes?
- Yes, but ensure they’re empty before passing through security.
Conclusion
A water bladder for hiking is a game-changer for staying hydrated and comfortable on the trail. By choosing the right size, maintaining it properly, and following the tips outlined in this guide, you can ensure a seamless hiking experience.
Hydration is one of the most important aspects of any outdoor adventure. Invest in a quality water bladder, and you’ll be ready to tackle the trails with confidence. Have tips of your own? Share them in the comments below, or check out our recommended water bladder models to get started!

